Photography Tips: How to Take Pictures of Cities at Night
Disclosure: Your support helps keep our site running. We may get a referral fee at no cost to you if you click on our links and make a purchase. Thank you for your support.

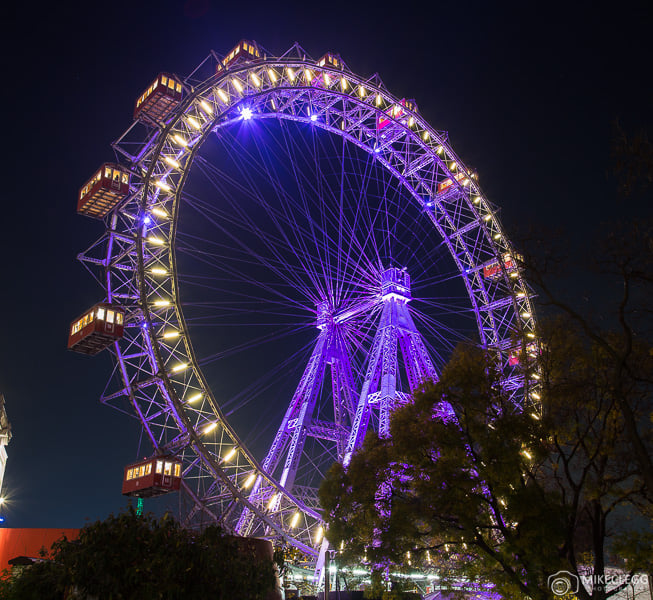
Most cities look amazing at night, with lights on buildings and landmarks. But trying to take photographs of them without good technique can lead to photos that don’t do the scene justice.
To get shots such as the above, you can use my suggested settings below to get well exposed and sharp images using a decent Canon, Nikon SLR or similar camera. You would also need a good quality tripod. This is because night photography often requires long exposures, so handshake can cause the photos to be blurry.
Nội Dung Chính
Basic Settings:
- Camera Mode: Aperture Priority (AV Canon, A Nikon). I find this the easiest mode to get a nice exposed picture on my Canon Camera.
- Shutter speed: 1-30 seconds which will be set by the camera. If the picture is still coming out dark, use Bulb mode and extend the shutter speed past 30 seconds. It may be a case of trial and error to work out how many seconds you need when using bulb mode.
- Aperture: F/4-F/16 – A smaller aperture such as F/11-F/16 will introduce a cool star effect from lights. A higher aperture than F/16 may cause diffraction which is an unwanted softening of the image (image less sharp) so it’s best not to go too high.
- ISO: 100 (to keep noise to a minimum).
- Focus: Manual Focus using Live View if you have it. I often focus on a building or object that I want to be in focus. It helps if there’s text or a sign somewhere on a building to ensure you have the perfect focus.
- White Balance: Auto. If you shoot raw you can change this later if it doesn’t look right. Sometimes shooting around street lights can cause the picture to look quite orange. It’s often easiest to adjust this in Lightroom or a similar program at a later date.
Other Settings:
- Use a Timer Remote Shutter Release Control
or self-timer of 10 seconds.
- Set Mirror lockup, this reduces any vibration from the camera moving the mirror up at the start of exposure.
- Image stabilisation (IS Canon, VR Nikon)
off
. This is because when set to on, the camera will try and find movement that doesn’t exist.
ADVERTISEMENT
CONTINUE READING BELOW
Taking the Shot
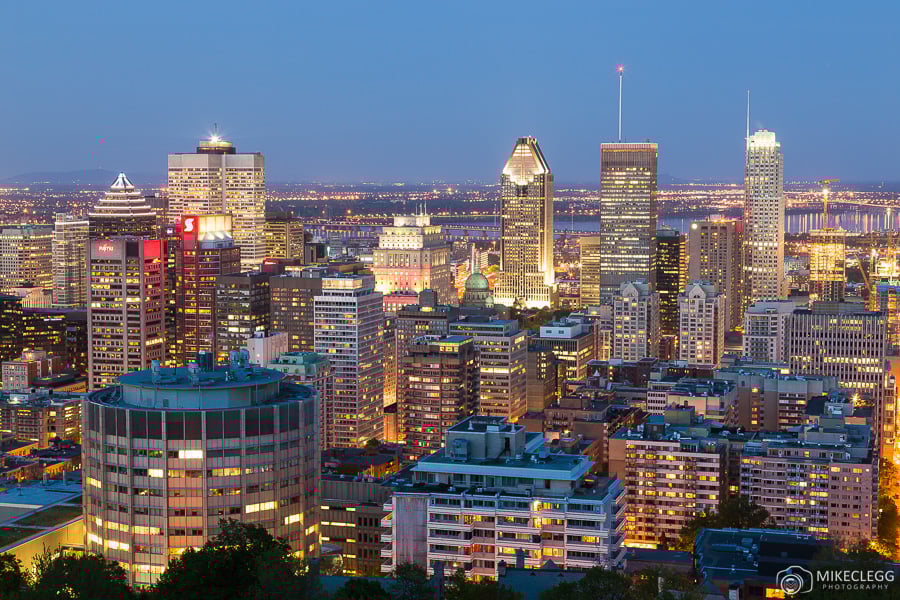
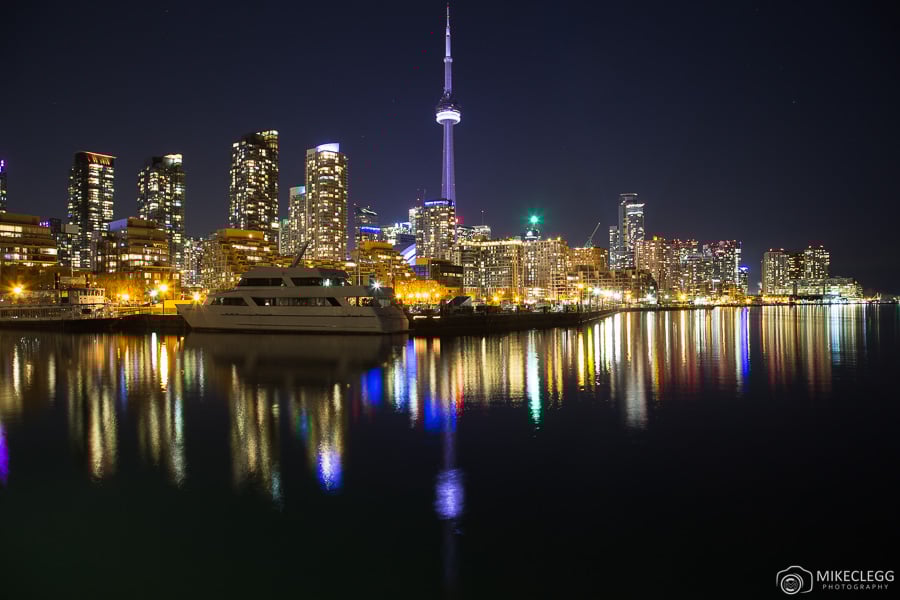
Using the settings above, use the remote or self-timer to take the photos. Here are some more examples of images taken using these techniques.
ADVERTISEMENT
CONTINUE READING BELOW
Summary
Taking photographs of cities at night can be very rewarding. Leading to impressive results that you can be proud of. Something else that is fun to do, is to take pictures where you capture light trails from traffic and other moving lights, which can add a cool effect to the picture.


Mike is a traveller, photographer, WordPress developer and the creator of TravelAndDestinations.com. He started this website so as to share his experiences and tips with travellers. He is from the UK and has travelled to many places around the world. He loves to shares his pictures and stories through Instagram and this website… [Read full bio]
Noticed a mistake?
If you would like to write a guest article so as to raise your profile then please get in touch Noticed a mistake? Let us know
Related Articles


